
Painting a beehive is a vital aspect of beekeeping that contributes to the hive's protection and aesthetic appeal. Properly executed, this process can enhance the hive's durability and overall health of the bee colony. Understanding the necessary steps, materials, and precautions is essential to ensure a successful and beneficial painting endeavor.
Preparation
Preparing to paint a beehive involves several important steps. First, it's crucial to choose the right type of paint and primer suitable for wood and won't harm the bees. Water-based acrylic paints are a good option due to their durability and eco-friendliness. Additionally, selecting a primer that bonds well with wood and is compatible with the chosen paint is essential for a smooth and long-lasting finish.
Next, it's important to pick a well-ventilated painting area to ensure proper air circulation during the painting process. This not only aids in the drying process but also prevents the inhalation of potentially harmful paint fumes, keeping both the painter and the bees safe. Opting for a shaded area with minimal direct sunlight can prevent the paint from drying too quickly.
Before applying the paint, it's crucial to thoroughly clean the beehive to remove any dirt, dust, or debris that might interfere with the paint's adherence. Using a mild cleaning solution and a soft-bristled brush, one should gently scrub the surface to create a clean and smooth base for the paint.
Lastly, sanding the beehive's surface must ensure a uniform texture and help the primer and paint adhere properly. Care should be taken to use fine-grit sandpaper and avoid compromising the beehive's structure during the sanding process.
Also read: How do bees make hives?
Priming
After preparing the beehive, the next step is to apply the primer evenly. This involves using a brush or roller to ensure that the primer is spread uniformly across the entire surface, including any intricate details and crevices. The primer serves as a crucial bonding agent, providing a smooth base for the paint to adhere to effectively.
Following the application of the primer, it's important to allow sufficient time for it to dry completely before moving on to the painting stage. The drying time may vary depending on the specific type of primer used and the surrounding environmental conditions. Generally, it's recommended to wait for at least 24 hours to ensure that the primer sets thoroughly. Hastening this process could lead to an uneven application of paint and compromise the overall quality of the paint job. Checking the dryness of the primer by gently touching it can help ensure that it's ready for the subsequent painting process. Patience during this phase is essential to achieve a smooth and durable paint finish on the beehive.
Painting
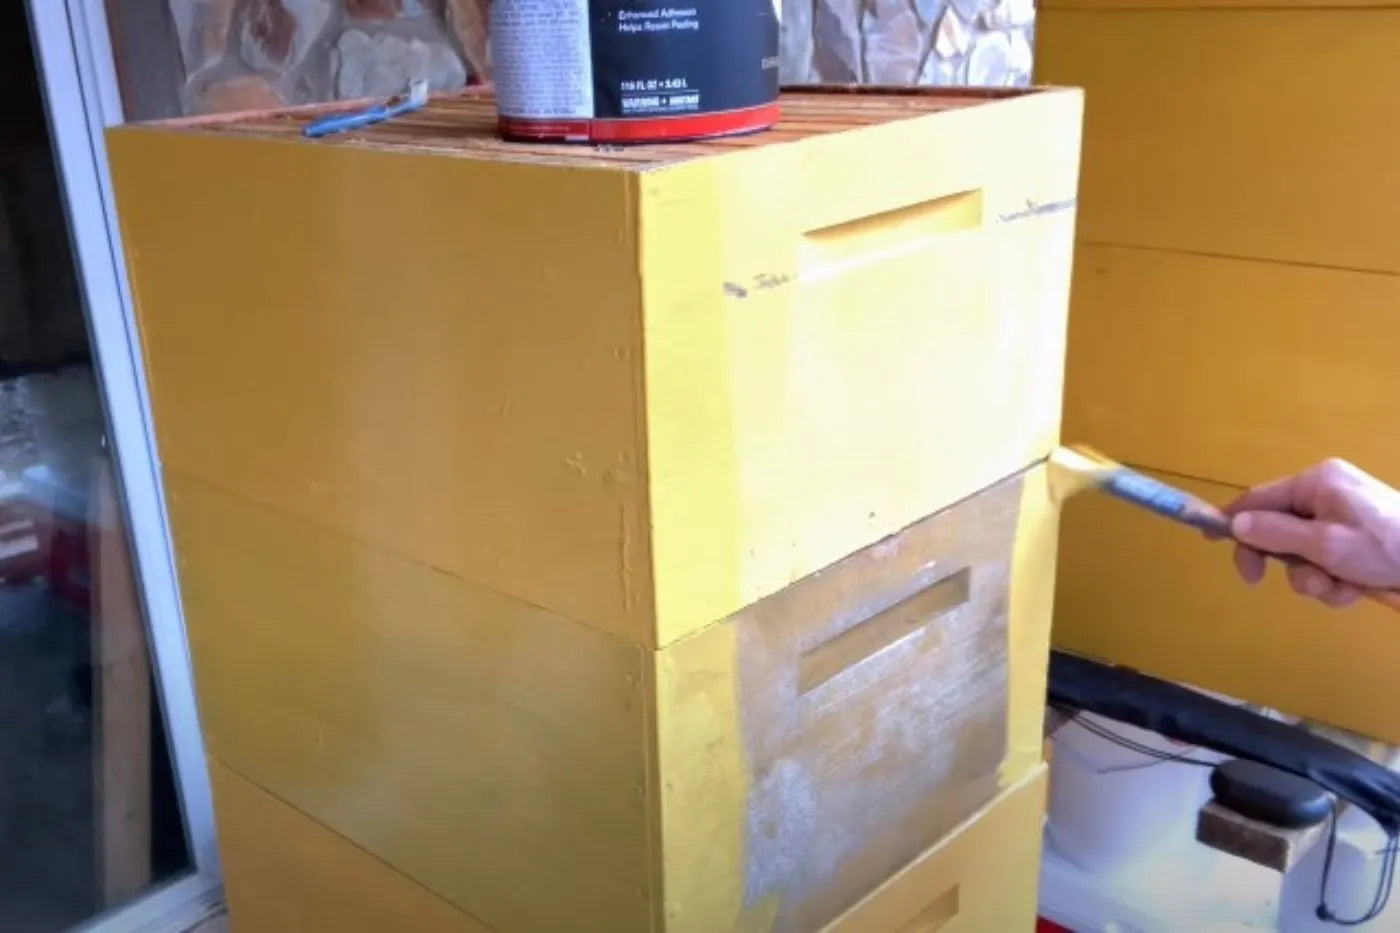
Now, it's time to coat the beehive with the selected paint color, ensuring a thorough and consistent application to cover the entire surface. Whether opting for a bright, eye-catching tone or a more natural, subdued shade, the paint should be spread evenly to create an attractive and protective layer over the beehive.
Applying Thin and Even Coats to Achieve a Smooth Finish
To achieve a flawless, professional finish, it's crucial to apply thin and uniform layers of paint. This process demands careful attention to avoid any build-up or uneven textures that could compromise the beehive's overall appearance. Using a brush or roller, the paint should be distributed evenly, maintaining the beehive's structural integrity.
Letting Each Coat Dry Completely Before Applying the Next One
Allowing each coat to dry thoroughly before proceeding is critical in preventing smudges and ensuring that subsequent layers adhere properly. Patience is key during the drying process, as hastening it may jeopardize the durability and quality of the paint job.
Applying a Second or Third Coat if Necessary
To guarantee sufficient coverage and long-term protection, it might be necessary to apply a second or even a third coat of paint. This step helps fortify the beehive against environmental factors and maintains its vibrant appearance for an extended period. It's essential to assess the evenness and coverage of each coat before deciding whether an additional layer is required for optimal results.
Also read: How do beehives work?
Detailing
For those looking to personalize their beehive, incorporating decorative elements or designs can enhance its overall look. This could involve using stencils, hand-painting, or applying decals to give the beehive a distinct and appealing aesthetic. It's important to ensure that any additions do not compromise the structural integrity of the beehive or disrupt the bees' activities.
To make the beehive visually striking, considering contrasting colors or patterns can create an attractive and engaging appearance. Thoughtful color choices or patterns can not only beautify the beehive but also make it easily identifiable in its surroundings. This can contribute to a lively and inviting atmosphere for both the bees and beekeepers.
While adding decorative touches, it's crucial to ensure that the detailing blends well with the environment. Any decorative elements should not confuse the bees or disrupt their natural behaviors. It's important to consider the bees' well-being and the functionality of the beehive, ensuring that any decorative additions integrate seamlessly with the beehive's purpose and the natural landscape. This promotes a conducive and stress-free environment for the bees.
Drying and Curing
Once the painting is done, it's essential to give the beehive enough time to dry thoroughly in an area with good ventilation. Proper airflow helps the paint to set effectively and ensures a lasting and durable finish. Rushing this step may lead to smudges or imperfections, compromising the overall quality of the paint job.
Before putting the beehive back in its original spot, it's crucial to confirm that the paint is completely cured. This process usually takes several days to a week, depending on the paint type and environmental conditions. Moving the beehive too early might damage the paint and potentially harm the bees. Checking the dryness of the paint by touch can help determine if it's ready to be placed back in its original location.
While the paint is drying and curing, it's important to ensure that the bees are kept away from any wet paint. This can be done by temporarily relocating the beehive to a safe area. Protecting the bees from exposure to harmful fumes or substances is crucial for their well-being and the overall health of the hive.
Final Touches
Once the paint has dried, it's important to carefully examine the beehive for any flaws or areas where the paint might be missing. This careful inspection ensures that the beehive has a polished and professional appearance, enhancing its overall look and durability.
If any imperfections or missed spots are found, it's crucial to address them promptly. This involves applying additional paint to the affected areas to ensure a smooth and consistent look. Being meticulous during this step contributes to the overall aesthetic appeal and protection of the beehive.
Before reintroducing the bees to the freshly painted beehive, it's essential to check for any remaining paint odors that might bother them. Allowing the beehive to air out in a well-ventilated area helps to disperse any lingering fumes. Eliminating any strong paint odors is important for maintaining a peaceful and conducive environment for the bees, supporting their well-being and productivity.
Also read: How is bee pollen made?
Final Thoughts
In conclusion, painting a beehive is a meticulous process that requires careful preparation, execution, and attention to detail. By selecting the appropriate materials, ensuring proper ventilation, and taking necessary precautions to protect the bees, one can create a visually appealing and durable beehive. Regular inspections, touch-ups, and consideration for the bees' well-being contribute to a successful paint job. Ultimately, maintaining a well-painted beehive not only enhances its aesthetics but also promotes a conducive and thriving environment for the bees' vital pollination activities.